
Dependent & General Info
General Information
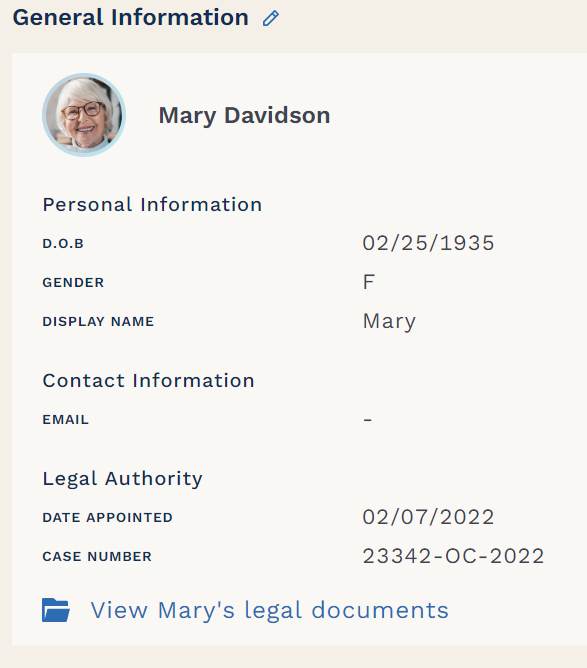
This is where your dependent’s information appears. You will set up your dependent’s profile by entering and saving information here. The display name refers to how you want your platform to refer to your dependent. It can be personalized with “Mom”, Aunt Mary, Mr. Jones, Frank, etc. You can also upload a picture of your dependent or of something that is important to them to further personalize the information. Once you have entered a name and picture for your dependent’s profile, these will be displayed at the top of the navigation bar.
You should also include the date when you started your role. Since most reporting is required to be made on an annual basis from the date you started, entering this date will help you track from your annual report date as opposed to a calendar year.
If you have a legal document giving you the authority to act on your Dependent’s behalf (e.g. Court Order or Power of Attorney), you should upload that document here and it will be stored in the “legal” file in the Documents section. See the information on “
Using Advocord on the Go "under these “How Tos” to learn how to use your phone camera for document uploads.
Address
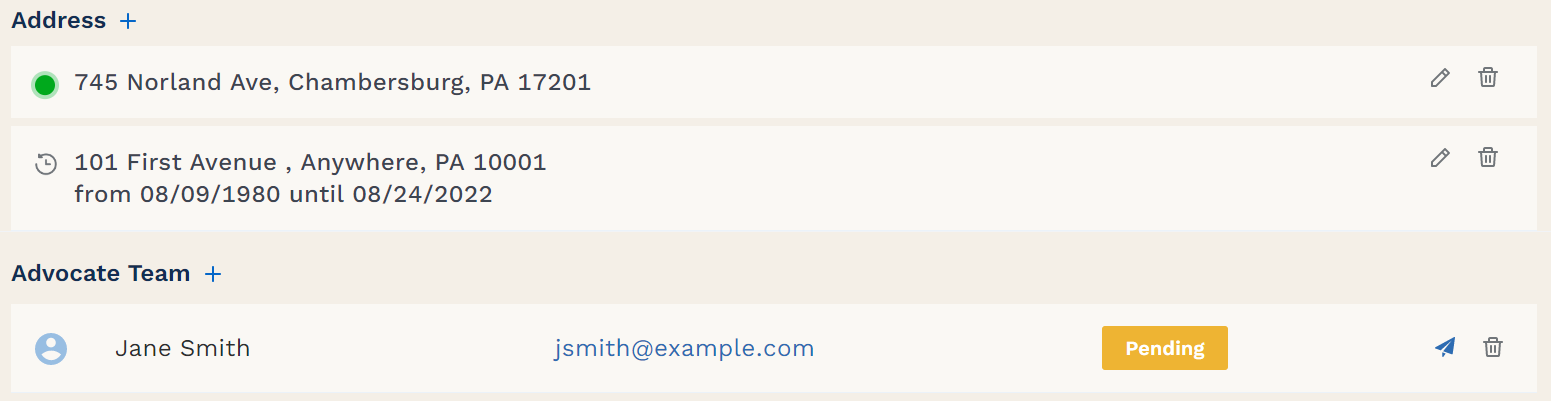
The address section will help you track everywhere your dependent has lived while under your care. The address displayed with a green dot indicates the current address. If the dependent moves from that address, you can edit that address by clicking the “+” button. After the new address is entered with the date of the move, the former address will appear as a past address with the dates that the dependent had lived at the former address.
Advocate Team
This section can be used to invite others to have “read-only” access to your dependent’s information. Read-only access allows someone to view your data in the platform, but does not allow the viewer to make any changes or additions. Account numbers will not be visible to the viewer in read-only mode.
NOTE: Make sure that you have permission from the Court to share information with others. You can ask the Court for permission if you believe it is appropriate. In all other situations, you should consult with your attorney to see if it is a good idea to invite others.
If you are ready and able to invite others, clicking on the “+” symbol next to “Advocate Team” will allow you to enter a name and email. Then click “Send Invite”. The person you have designated will receive an invitation and instructions about how to access the system. On your screen, the word “pending” will appear until the other person accepts the invitation. If the other person needs to have the invitation re-sent, you can do that by clicking on the paper airplane icon. You can also revoke the “read-only” access at any time by clicking on the trash can.